If you’re passionate about photography or want to grow your Instagram account, then you’ve probably already heard about Adobe Lightroom. It seems that everyone is using it nowadays and for good reason!
Some people use Lightroom for personal photos, some use it for professional photography but let’s face it, most of us use it for Instagram. So what makes Lightroom so special? The truth is that Lightroom can turn an average photo into a masterpiece. No joking.
Most of the Instagrammers and bloggers use it to achieve that uniform feel & look for their photos or feed. The thing is, if you want to really take your photos to the next level and get noticed, you have to learn how to edit in Lightroom or get some professional presets.
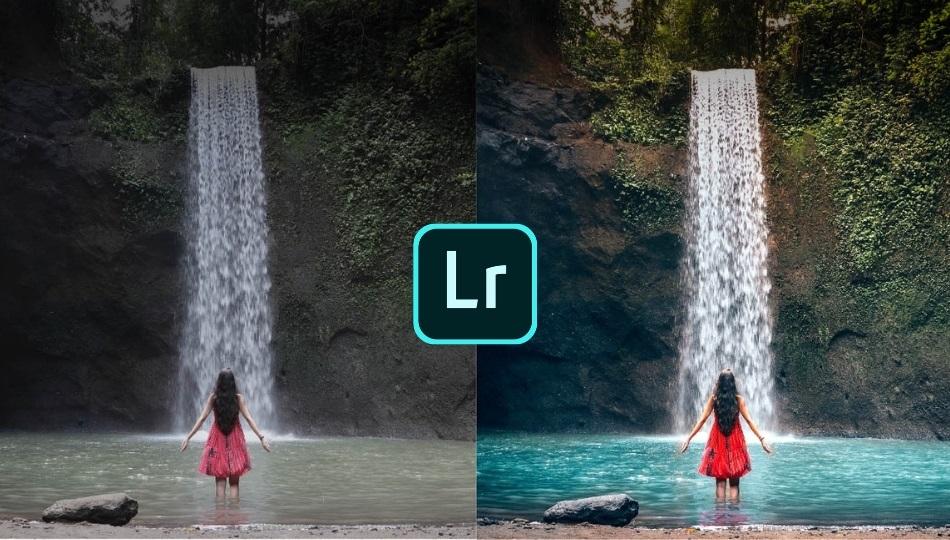
What exactly is Lightroom?
Lightroom is a photo-editing software, available for both desktop and mobile, which helps you adjust the colors and do minor edits to your photos. It is somehow similar to its older brother, Photoshop but it has a much simpler interface. Also, unlike Photoshop, in Lightroom you can’t do major changes to photos (eliminate big objects or add layers).
In simpler words, Lightroom is the software that will help you change the exposure, saturation, color hue or contrast of your photos. In terms of color, you can do pretty much any adjustment in Lightroom in just a few seconds.
It’s simple to use, it has an intuitive interface and you can edit hundreds of photos at a time. It’s a dream come true for any professional or aspiring photographer.
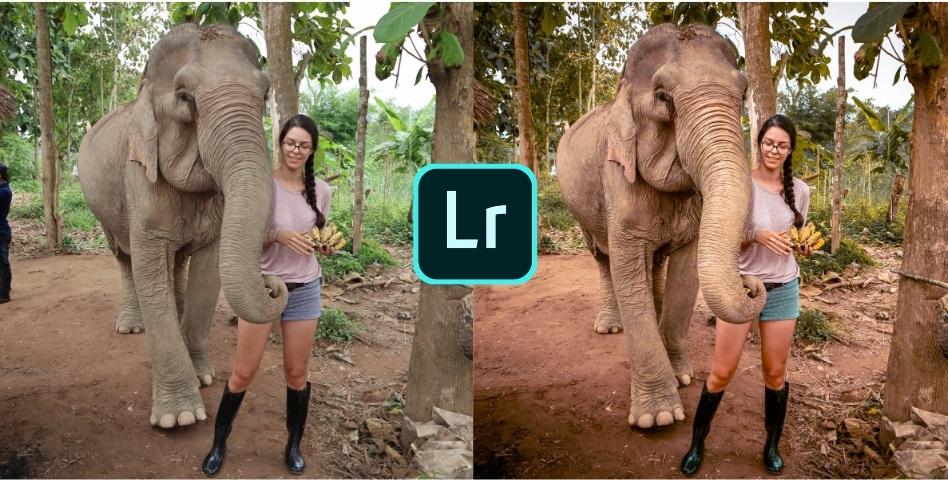
Desktop version
I love the Lightroom desktop version. It has many functionalities and it’s very intuitive. Plus, I get to see the pictures in real-size. However, it has a few downsides. Firstly, the desktop version is paid. This means that you will need a Lightroom subscription to use it.
Secondly, it’s hard to use the desktop version when you’re on the go. Say you took a photo with your phone and want to edit and post it directly to your Insta or Facebook.
If you only have the desktop version, you have to send the photo to your computer, edit it and then post it on Instagram. Sometimes, using the desktop version is more time-consuming. This is why I recommend having the free mobile version too.
-> For my 14 free desktop presets click here
Mobile Version
The good news is that the Lightroom mobile version is free. It’s perfect to use on the go and it’s convenient. However, even though you can tweak some of the settings directly from the mobile app, I recommend installing some presets.
Editing photos from scratch on the Lightroom mobile app can be frustrating because the photo preview size is quite small and you won’t be able to see all the details. This is why installing some mobile presets can be a game-changer.
Plus, with the presets you will be able to edit your photos with just a few clicks. All my Instagram photos are edited with Lightroom presets.
-> Check out my mobile presets
Good to know: There are different presets for desktop and mobile. The ones that work on desktop, don’t work on mobile and vice versa.
Do you really need to learn Lightroom?
The short answer is no. Actually, you have two options: you can either watch tons of Youtube tutorials and invest a lot of time in learning how to use Lightroom or you can buy some professional presets and use them right away. I will go into detail about each option.
1. Learn to use Lightroom by yourself
If you don’t need the skills of editing photos in Lightroom right now, you can invest time in learning it by yourself. This is how I did it. There are tons of Youtube tutorials and articles on the internet that teach the basics of Lightroom. After you know what each setting does, you can go a step further and start experimenting.
Experimenting is the most important step. You’ll learn what edits you like, what colors you like and after a few months or years, you will develop your own, unique editing style. It took me about two years to finally get to the point where I can say that I love my edits.
Pros
- it’s free – this is probably the biggest advantage
- you’ll have the skills to achieve any edit
Cons
- it takes A LOT of time – expect months or years
- you have to research for the best courses available online
2. Use professional Lightroom presets
Learning Lightroom by yourself is time-consuming and if you want to take your Instagram or blog to the next level, time is one of those things you don’t have. That’s why I recommend using some professional Lightroom presets. The presets will take you from beginner to advanced mode in basically no time. All you have to do is apply the desired preset, and BOOM your photo is ready.
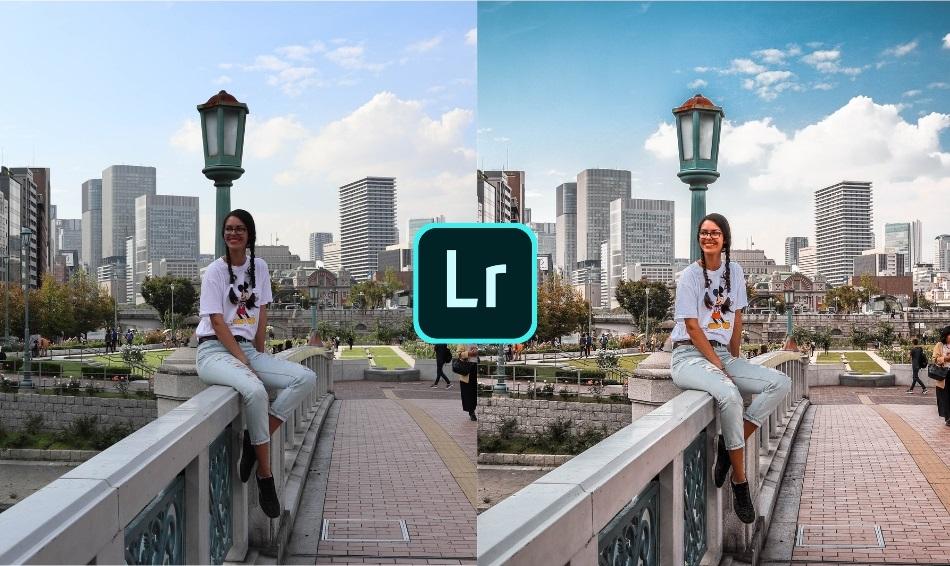
What is a preset?
A preset is a set of adjustments (colors, exposure, contrast, and many others) that changes the way a photo looks instantly. It works like a filter for photos. All you have to do is install these presets on your computer or mobile phone, select the picture you want to edit and apply the preset. In just a few clicks your photo will be ready for Instagram/ blog/ Facebook. It’s that simple!
Pros
- you don’t need to learn all the Lightroom settings or research for tutorials
- the presets are easy to use, just a few clicks and your photo is ready
- you can tweak them any way you want to create your own editing style
Cons
- most of the presets available on the market are paid (check out my 14 FREE presets for desktop here or my mobile version here)
How did I learn editing in Lightroom?
Learning how to edit photos in Lightroom takes a lot of work and dedication. I’ve started using it over two years ago and since then I edit all my photos with this program. Literally all of them. No matter if I post on Facebook, blog, or Instagram, Lightroom is my best friend.
However, getting here, to the level where I am confident and completely happy with my edits, took a lot of time. I’ve started using the desktop version. I’ve searched the entire internet for tutorials or useful articles about what each Lightroom setting does.

After learning the basics, I’ve started experimenting. At first, I tried to copy my favorite Instagrammers’ style and see if I can achieve a similar look to theirs. It was a challenge for me and it helped me a lot. After this, I’ve started playing with my own photos and try and work out which edits I like and which edits I don’t like.
When I started traveling full time, I took Lightroom even more seriously and I edited photos almost every single day. After hundreds and hundreds of hours, and tons of tutorials I can finally say that I can pretty much edit any photo in any style.
It was a challenging journey but I love being creative with my photos!
-> You can check out my presets here
Next steps for you
If you are looking for some professional presets, you can check out my Light Dream Collection (the desktop version is FREE). However, if you want to invest time in learning Lightroom by yourself, below are a few tutorials and articles that I recommend:
If you have any questions, don’t hesitate to ask me in the comments section below.
May the travel bug bite you!
Pin it for later!



This software actually makes the photos so lively and amazingly beautiful… It makes take time while learning this but it’s worth learning!!
So true! Learning how to edit in Lightroom is an amazing skill but it takes a lot of time. However, it’s so worth it!